
Why Read This?
If you’re a Spanish contractor looking for an easy, reliable way to install HPL panels, this guide is for you. No jargon—just clear steps, safety checks, and tips that help projects finish on time and on budget.
1. Gather Your Gear First
| You’ll Need | Why It Matters |
|---|---|
| Battery drill + torque setter | Consistent anchor strength |
| Stainless anchors (A4) | No corrosion on coastal sites |
| Aluminium rails + brackets | Light and easy to cut |
| Concealed clips | Clean, modern look—no visible screws |
| 20 mm plastic spacers | Keeps the air gap open |
Pro Tip: Order 5 % extra clips and anchors—spares save last-minute store runs.
2. Check the Wall & Permits
- Surface sound? Tap for hollow spots; fix any loose render.
- Straight lines? Snap chalk lines for a level rail start.
- Town Hall permit? In most regions, ventilated façades count as a minor exterior change—notify before you scaffold.
3. Fix the Brackets – The “Bones” of the Façade
- Mark vertical lines at 600 mm centres.
- Drill pilot holes, blow out dust.
- Set anchors with a torque wrench (follow the box—usually 8–12 Nm).
Quick check: A bracket shouldn’t wiggle if you yank it by hand.
4. Clip on the Rails
- Slide aluminium rails onto every bracket.
- Use the slot holes to nudge rails until perfectly plumb.
- Tighten all bolts—work from the bottom up.
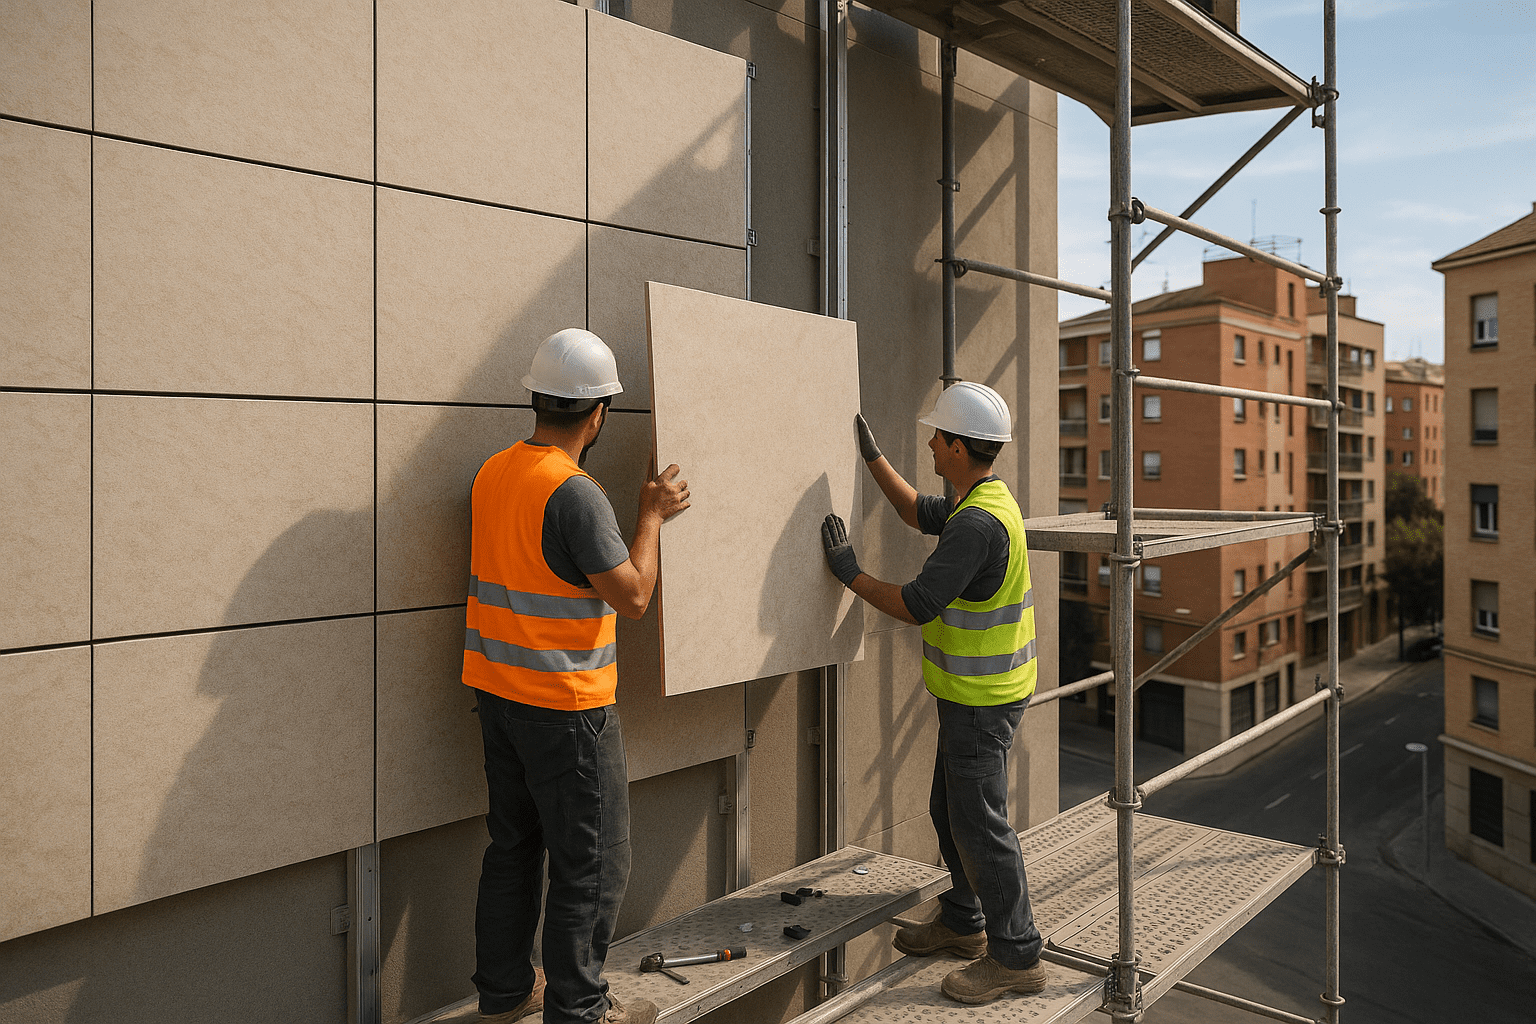
5. Hang the HPL Panels
- Hook the top concealed clips into the back-cut groove.
- Lift the panel, let the lower clips snap in—listen for a click.
- Keep a 5 mm shadow gap between boards (lets the panels expand on hot days).
A two-person crew can hang 10–12 m² an hour once they find a rhythm.
6. Leave the Air Gap Clear
That 20 mm space behind the panels is the façade’s lung.
- Don’t stuff it with cables or foam.
- Check top and bottom vents stay open.
7. Final Clean & Client Handover
- Wipe panels with a damp cloth to remove fingerprints.
- Fill out the 5-point checklist (download link in sidebar): anchors tight, rails straight, clips engaged, gaps clear, panels clean.
- Hand the checklist to the client—shows the job’s done right.
Common Mistakes (and Fast Fixes)
- Loose bracket? Replace the anchor—never just add more torque.
- Panels rattling? Add one extra clip mid-span.
- Uneven gaps? Loosen rails, tap them slightly, re-tighten.
Key Take-Aways
- Plan ahead: Tools and 5 % spare hardware save time.
- Air gap matters: Keeps walls dry and cool.
- Shadow gaps: 5 mm all round prevent buckling.
- Checklist: A signed sheet speeds final payment.
Follow these simple steps and your HPL façade will stay straight, strong, and good-looking for years—without the headaches.